Sketch to Render: How to Turn a Hand Drawing Into a Photorealistic Image With AI
Turn a hand sketch or a plain 3D model view into a photorealistic render that keeps your lines, with your materials, matching angles and a video at the end.
Short answer: upload a photo or scan of your sketch, or a screenshot of an untextured 3D model. Choose a style, list your materials, and the AI renders it as a photograph while keeping your composition, proportions and openings. It takes about a minute. From there you can render more angles that match, change the light, or animate the render into a video.
| The drawing | The render |
|---|---|
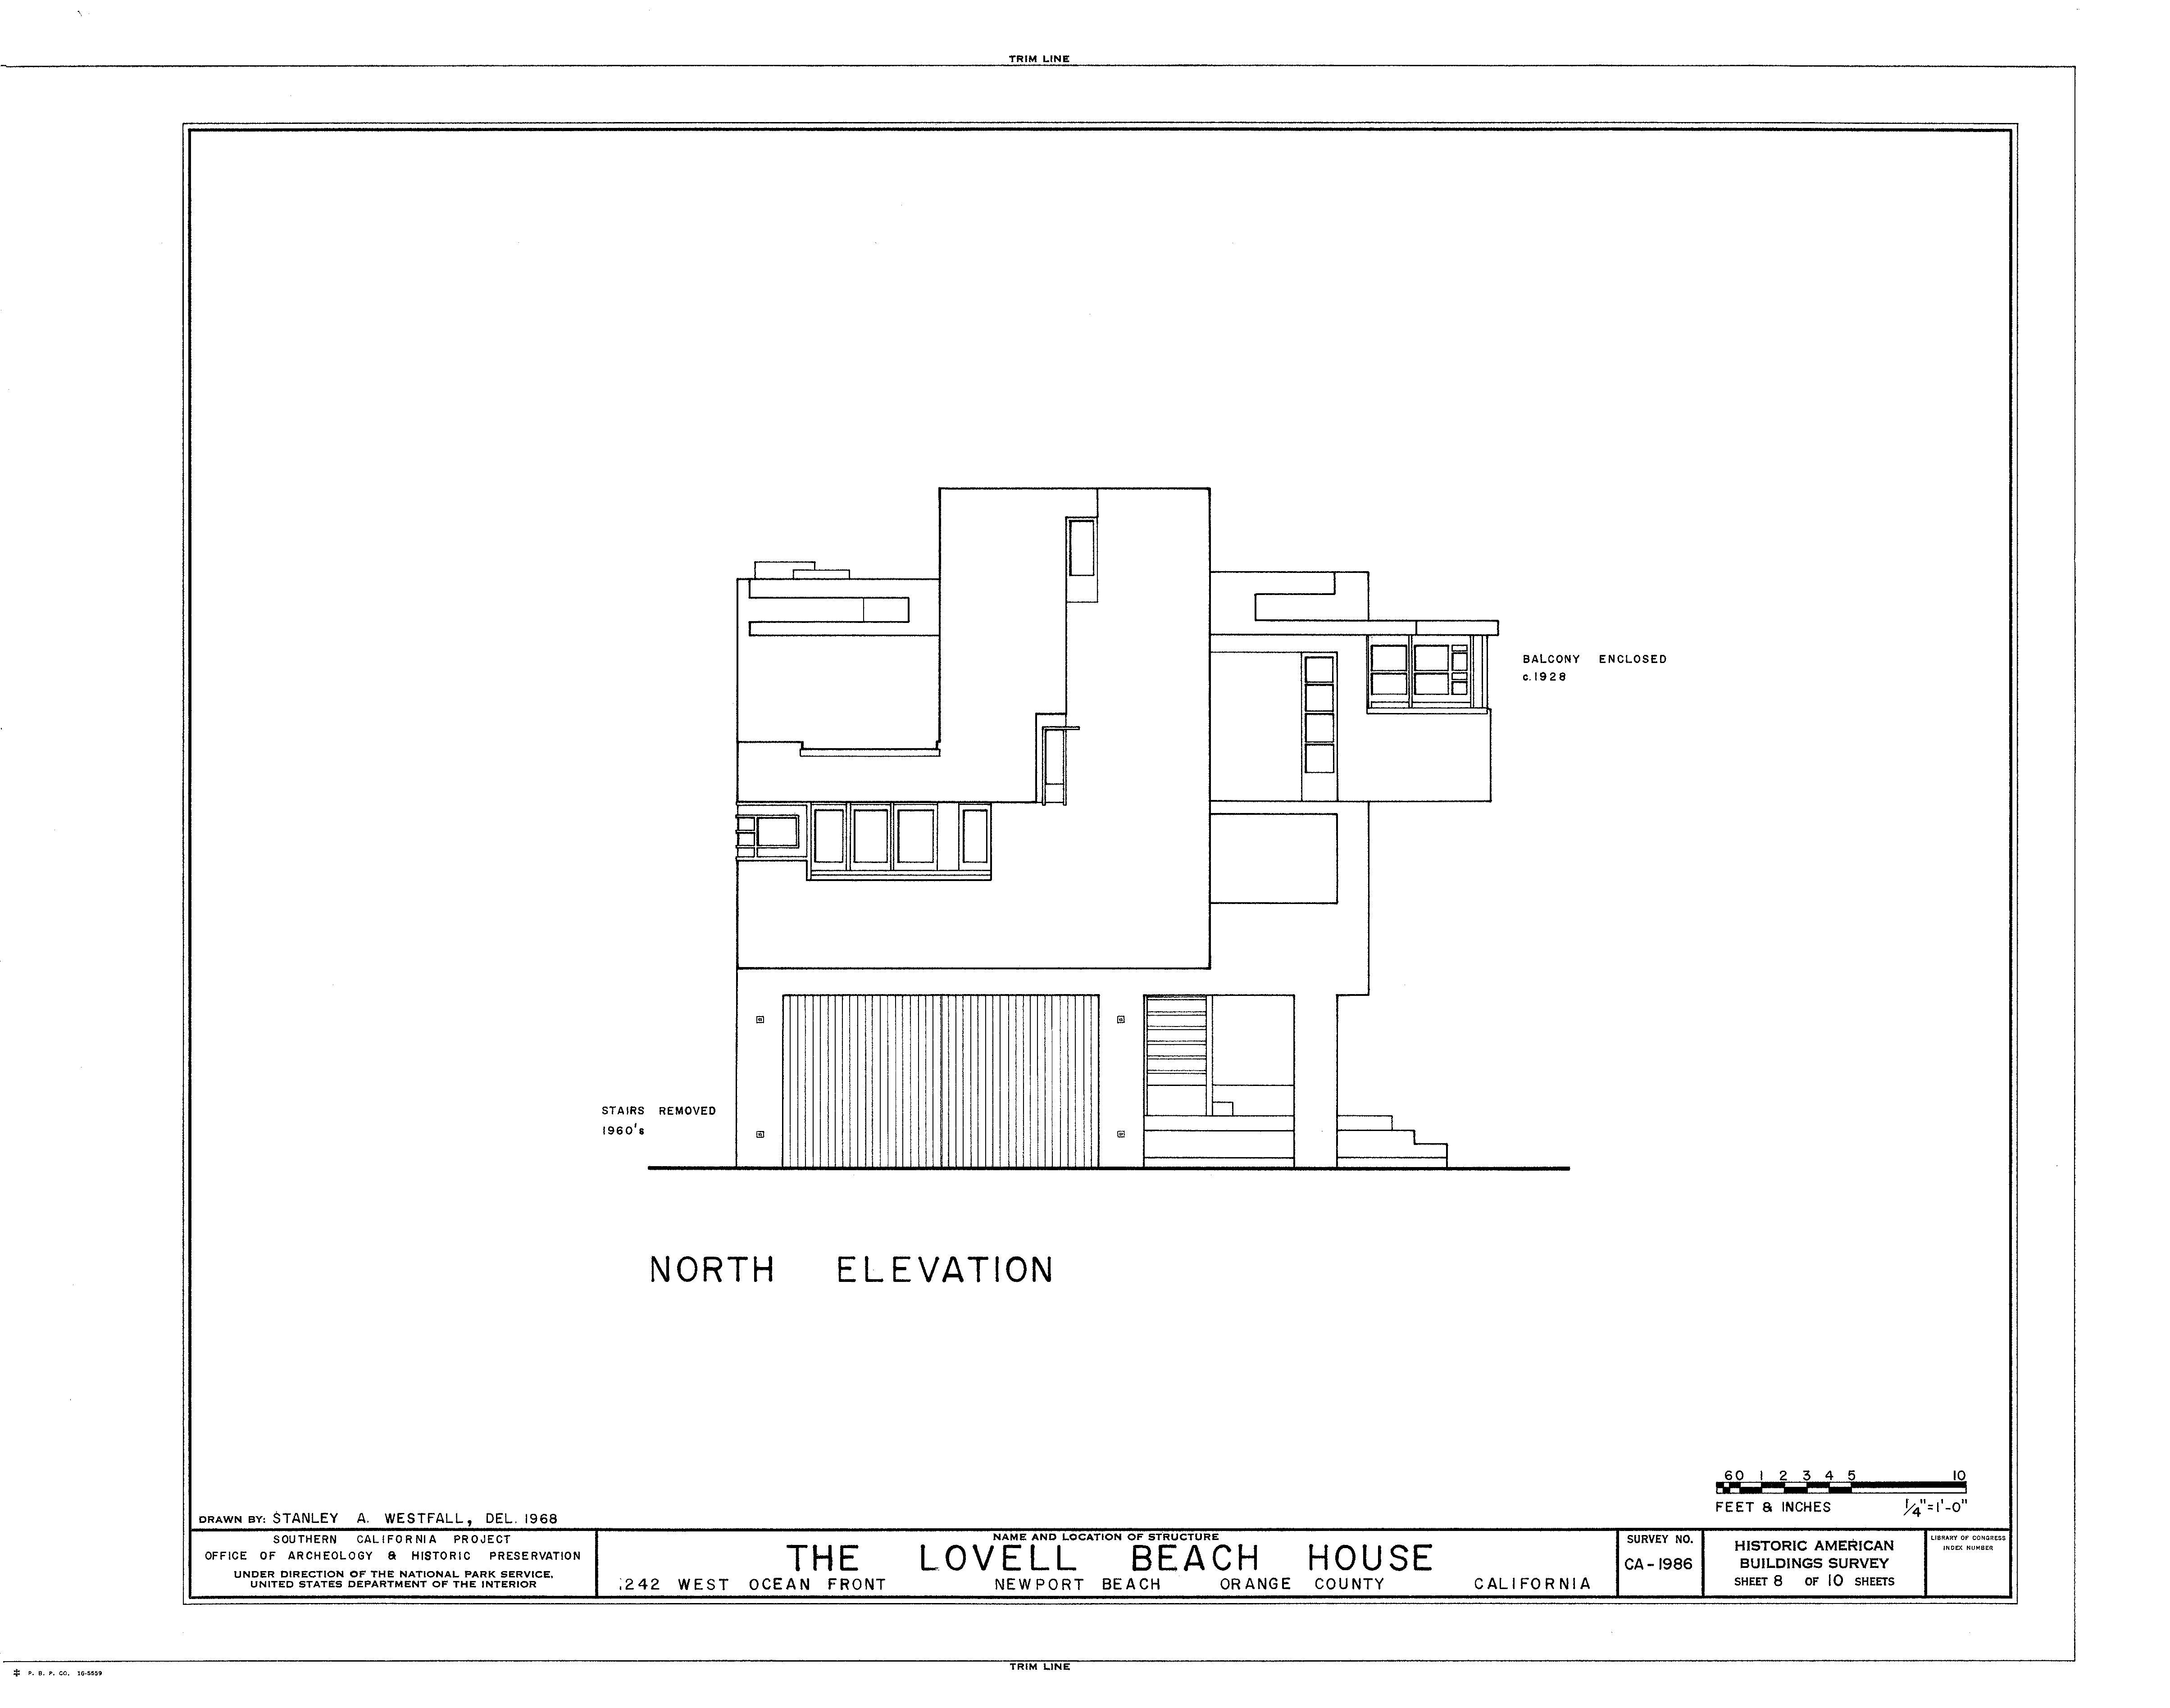 | 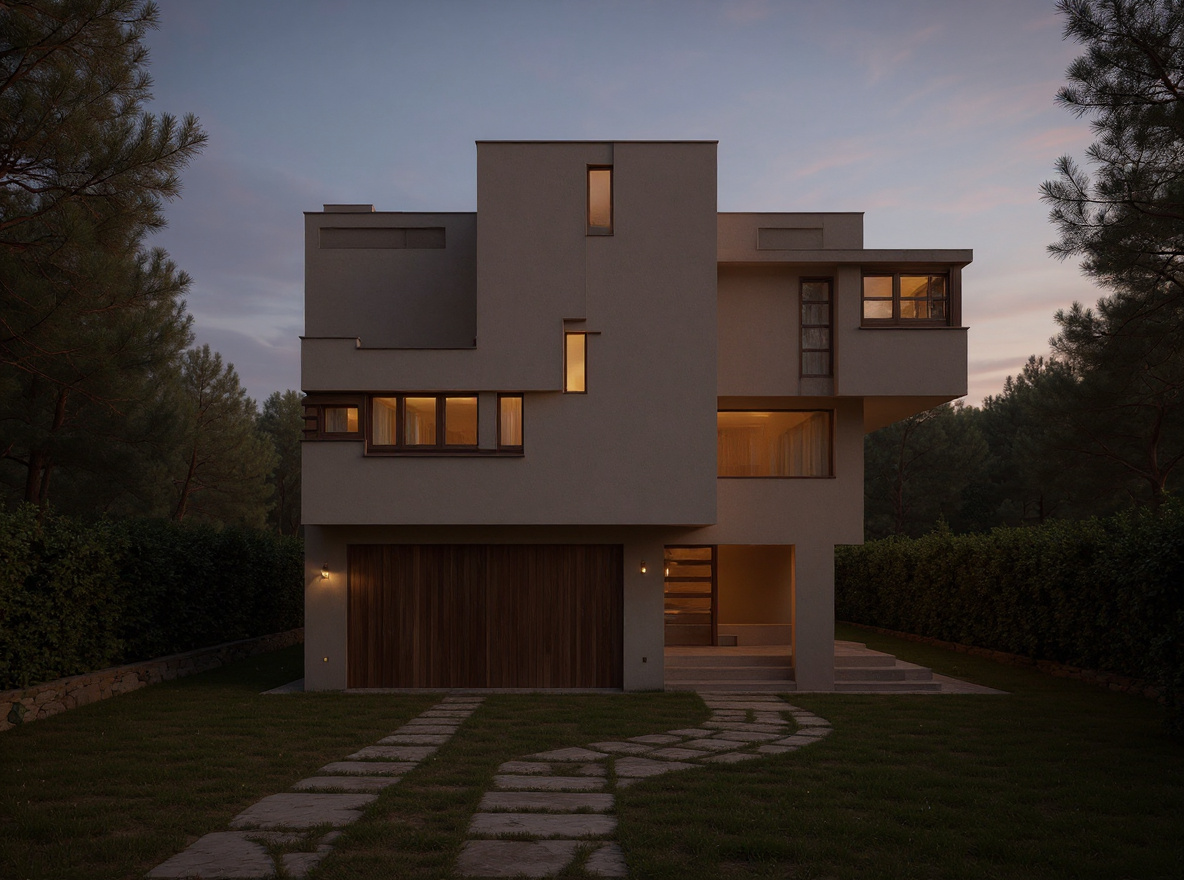 |
Why render from a sketch at all?
Because the sketch is where the design is decided, and the render is where the client says yes. A photorealistic render has traditionally meant building a full 3D model, texturing it and waiting for it to render, which is hours of work for an image that may be thrown away after the first meeting. Rendering straight from the drawing shows a client the idea while it is still an idea, and before anyone has paid for modelling.
Step 1: choose what you're bringing
Open Render a sketch or 3D view and pick one of two options:
- Hand sketch: a pencil, pen or marker drawing, photographed or scanned.
- 3D render: a screenshot of a model with no materials yet. The AI treats the model's geometry as fixed and adds real materials and light.
Then choose the subject: an interior, an exterior, or a single piece such as a door, a staircase, a gate or a piece of joinery. A single piece comes back as a clean product shot of that piece alone.
Step 2: tell it what it's made of
This is the step that separates a generic render from your project.
- Pick a style, or type your own under Other style.
- Fill in the Material brief. Write it as a list ("floor: light oak planks; walls: lime plaster; kitchen: dark green lacquer, brass handles"), attach photos of real samples, or both. Each photo can carry a note saying what it is and where it goes.
- Add a note for anything else: the time of day, the view outside the window, what should not change.
Step 3: render, then work on it
Press Create render. Once it lands, every render carries the same set of tools:
- Edit: ask for a change in plain words ("make the sofa leather", "add a pendant over the island"). Only what you name changes.
- Another take: the same brief, read again, when you want an alternative.
- New angle and Add another view: more angles of the same space with the same materials.
- Relight: golden hour, night or overcast, without re-rendering the design.
- 360° view, Upscale and Animate in Studio to turn it into a panorama, a high-resolution file or a video.
Several views, one consistent set
If you upload several sketches of the same project (the living room from two sides, the exterior from the street and the garden), they are rendered as one set: the same materials, the same style, the same light. You can approve the first angle before the rest render, so you don't pay for six images in a direction you would have changed after the first.
Tips for a better render from a sketch
- Show perspective. A perspective sketch gives the AI far more to work with than a flat plan.
- Close your lines. Walls that meet cleanly read as walls; gaps can read as openings.
- Write materials down. The render follows the materials you name. What you leave out, the AI chooses for you.
- Keep notes about the design, not the drawing. "Keep the arched window" helps; "ignore the smudge" rarely does. A cleaner scan does.
- For a floor plan, use the floor plan tool. A 2D plan viewed from above is a different job. Turn a floor plan into a 3D walkthrough instead.
Who uses it
- Architects turning concept sketches into images for a first client meeting or a competition board.
- Interior designers rendering a SketchUp-style model view without hours of texturing.
- Architecture students in Palestine, Jordan and the Gulf producing renders for a studio review without a render farm.
- Joiners, metalworkers and kitchen makers showing a door, a gate or a kitchen before it is built.
What it costs
Every render uses credits, and the price is shown on the button before you press it; it depends on the render engine you pick. Editing, another take and new angles are priced the same way. New accounts get free credits to try it.
Questions
Will the render follow my sketch exactly? It keeps your composition, proportions and openings, and adds materials, light and detail. You can then change anything in plain words.
Can I render a 3D model that has no textures yet? Yes. Choose 3D render and upload a screenshot of the model view. The geometry is kept and realistic materials and lighting are added.
Can I use my own material samples? Yes. Attach photos of the real samples in the Material brief, with a note on what each one is and where it goes.
Can I get several angles that match? Yes. Upload several views of the same project and they are rendered as one consistent set.
Ready to render your own sketch?
Bring a hand drawing or a plain 3D view. Your lines stay, the materials are yours to choose.
Render a sketch or 3D view