Five Pictures → One Vertical Reel, With The Cut
Every screen, every click, behind our Instagram reel — your pictures dropped into The Cut, a camera move per shot, one score over the whole film. No prompts to write.
This is the reel. Below it, every screen that made it, in order.
Nothing to write. No prompts, no descriptions — your pictures go in, you tap a camera move per shot, and the film comes out.
1080 × 1920 · 29 seconds · six shots · one soundtrack.
Step 1 — Start with your pictures
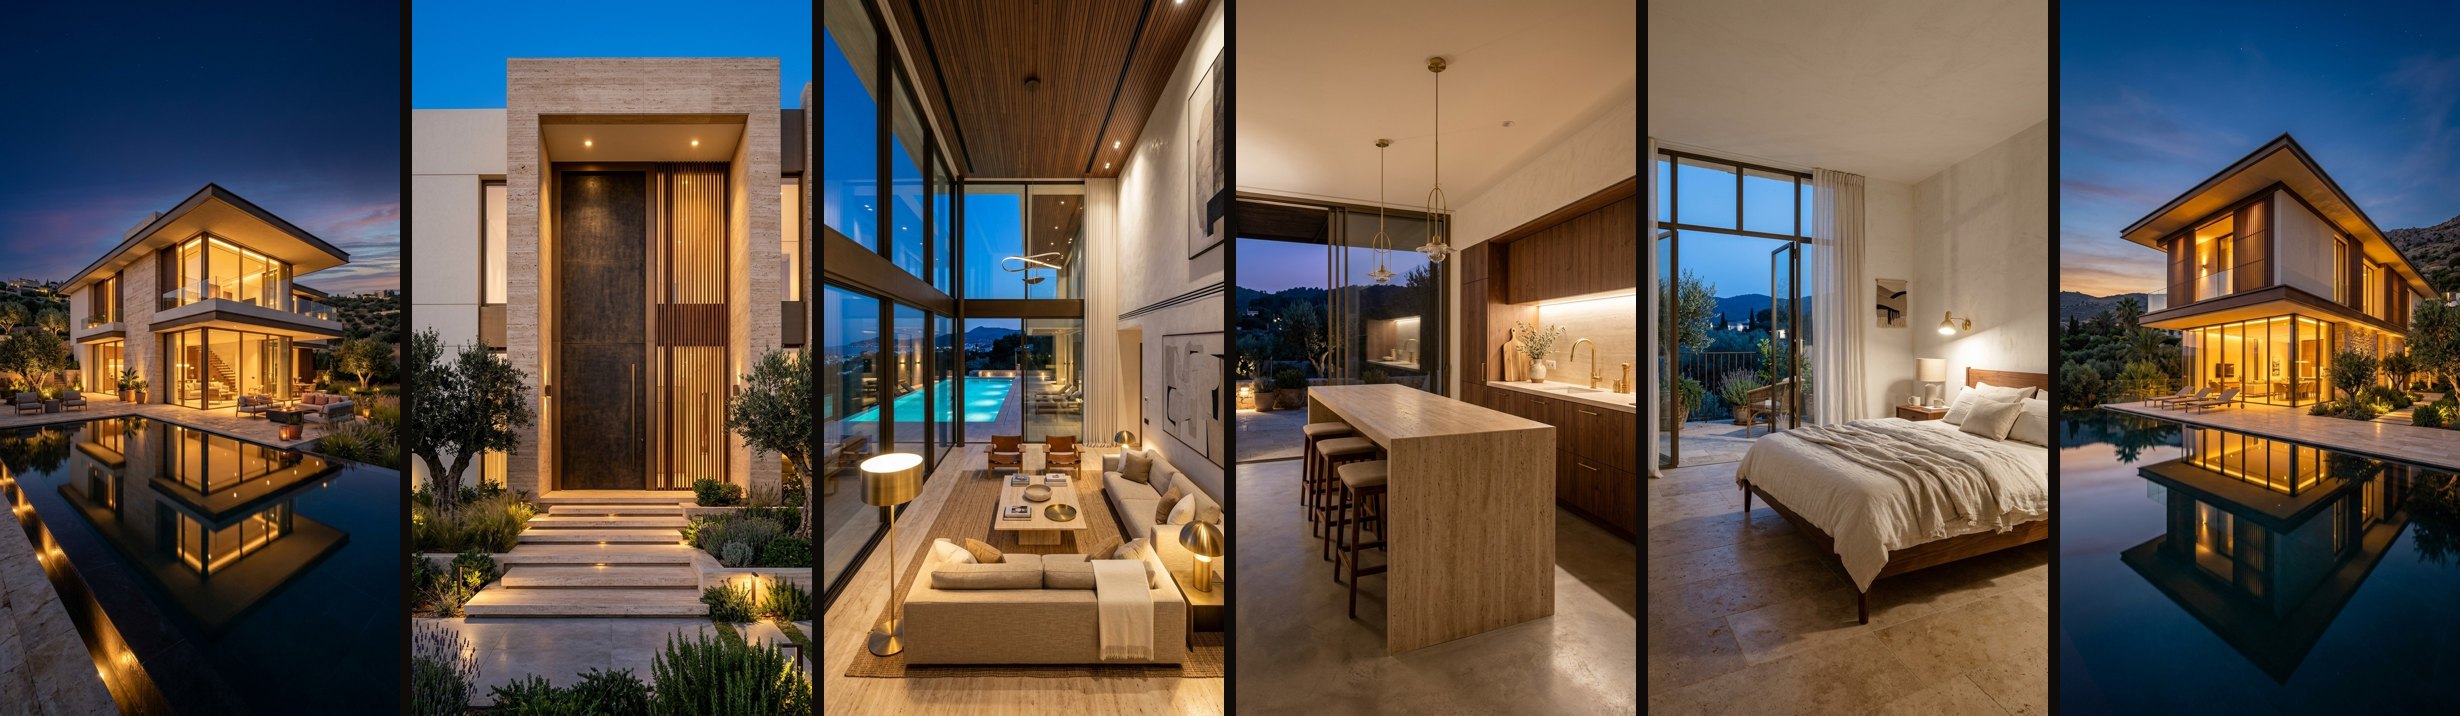
Photos of the home, or its renders — one home, five or six pictures, in the order you want them watched. Portrait pictures suit a reel best; a wide picture is cropped to vertical, so frame the tall ones with that in mind.
The six we used, in story order:
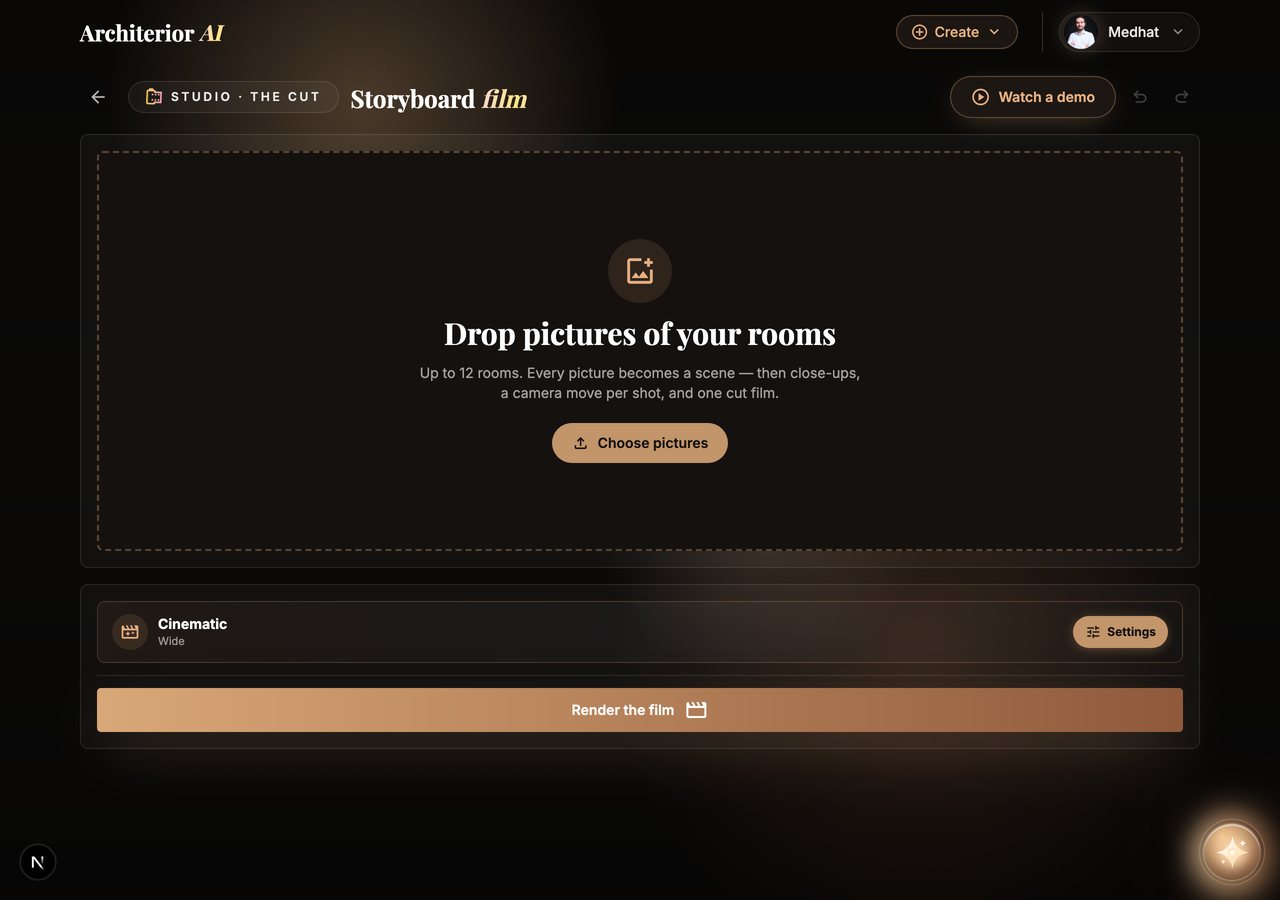
Step 2 — Open The Cut and drop them in
The Studio → The Cut. One drop zone. Drop all six pictures at once, in the order you want them watched.
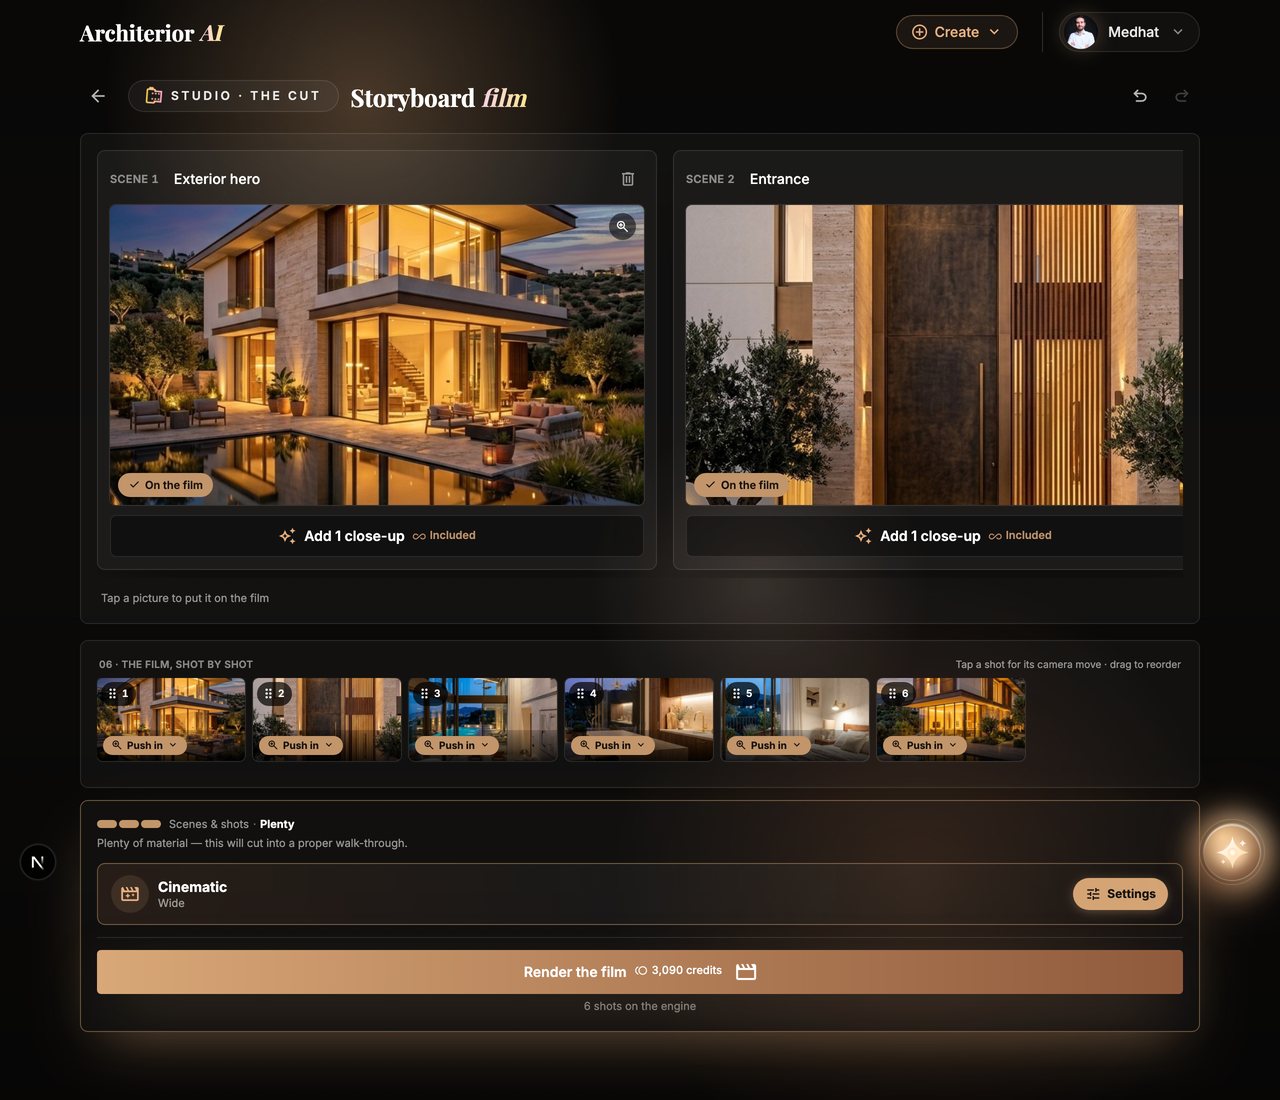
Each picture becomes a scene card, already marked On the film, and the filmstrip at the bottom fills with one shot per scene. Name the files by room before you drop them — the file name becomes the scene label.
Step 3 — Tap a shot, choose its camera move
Tap any shot on the filmstrip. A drawer opens with the shot large and every camera move previewed on that very picture — push in, pull back, truck, tilt, boom, orbit, and more. Hover a tile to watch the move; tap it to set it.
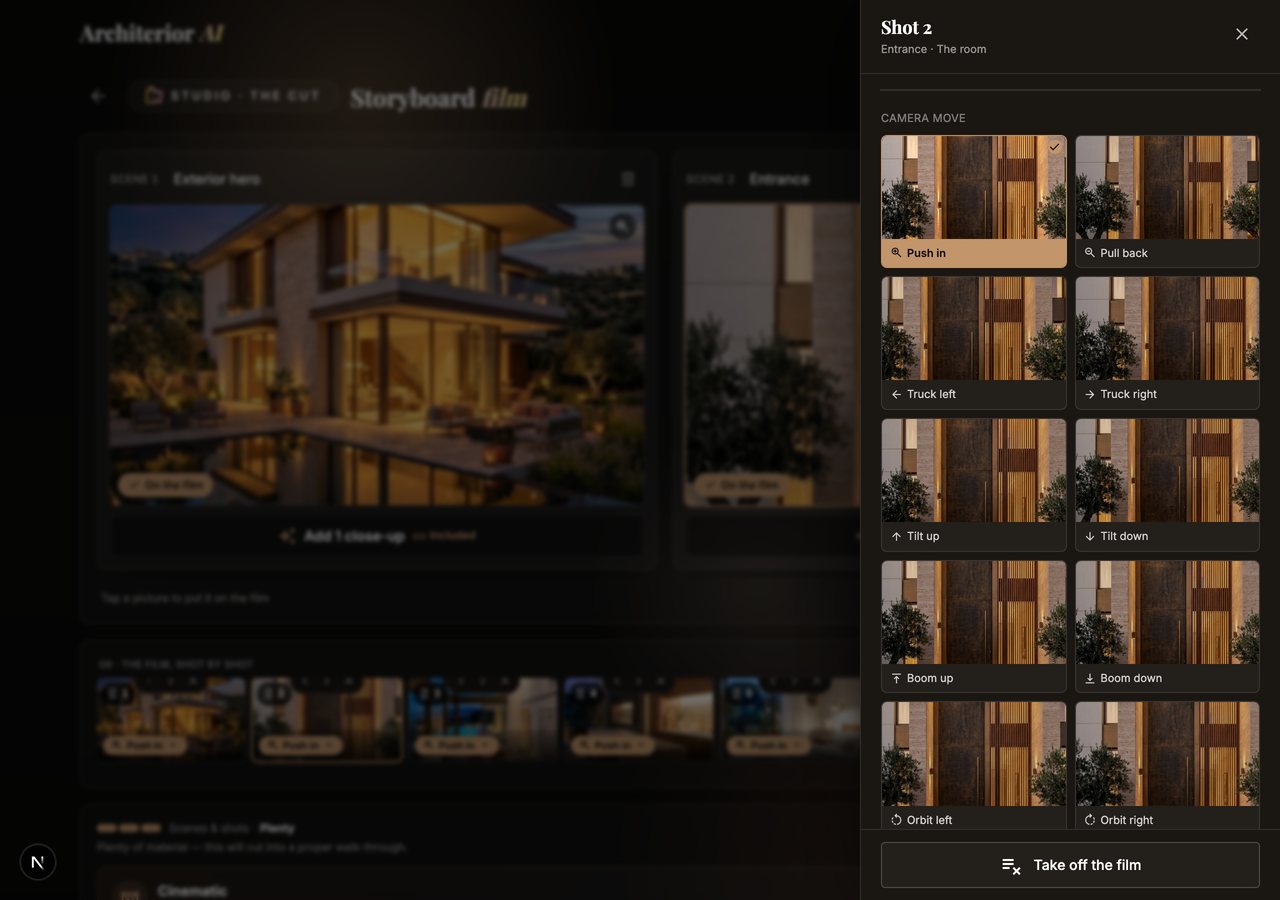
Never give six shots the same move — that is what makes a reel look automated. The move you pick shows on the shot's tile and a toast confirms it.
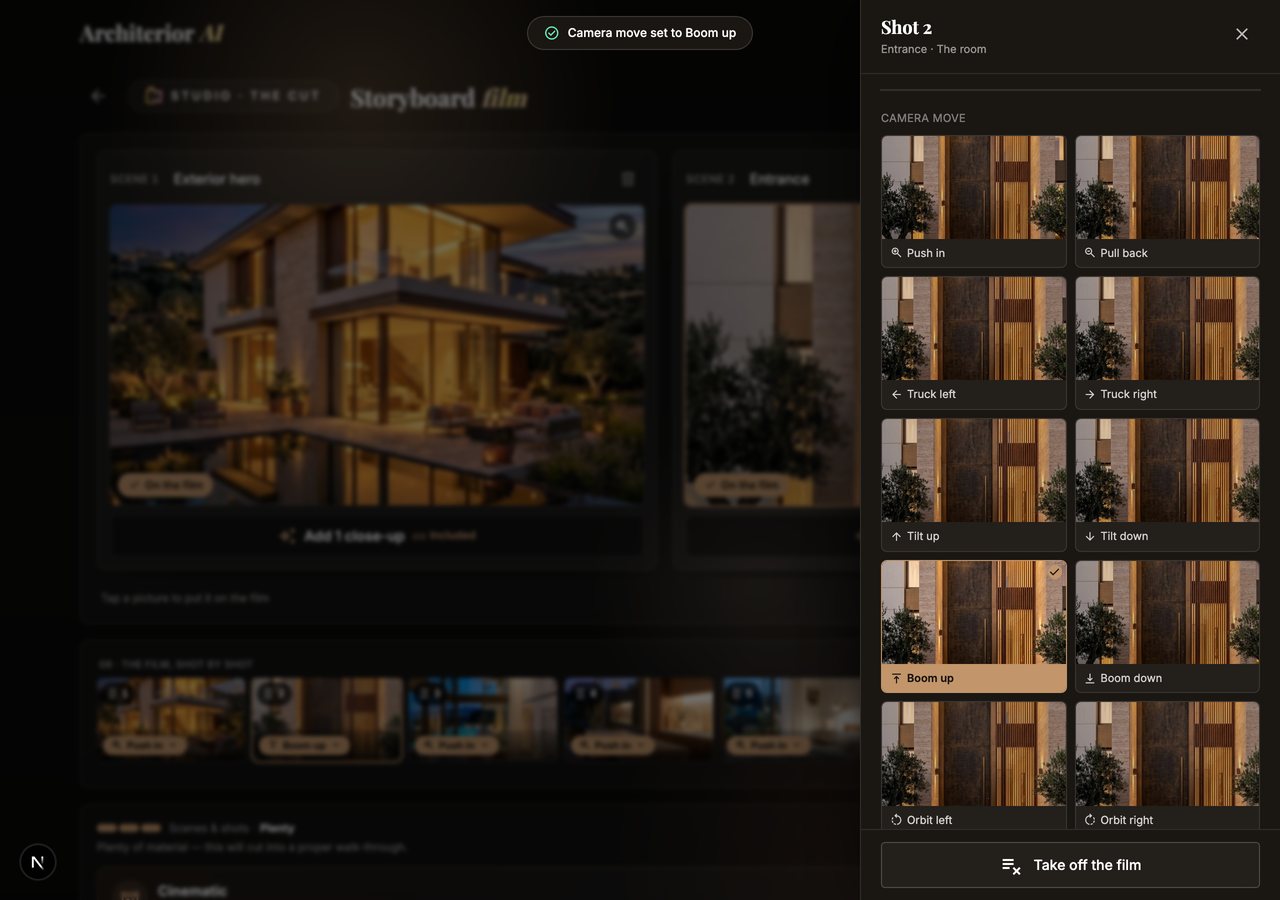
Ours, shot by shot:
| Shot | Move |
|---|---|
| Exterior hero | Push in |
| Entrance | Boom up |
| Living room | Truck left |
| Kitchen | Truck right |
| Bedroom | Pull back |
| Exterior close | Orbit left |
Step 4 — Settings: Cinematic, and Vertical
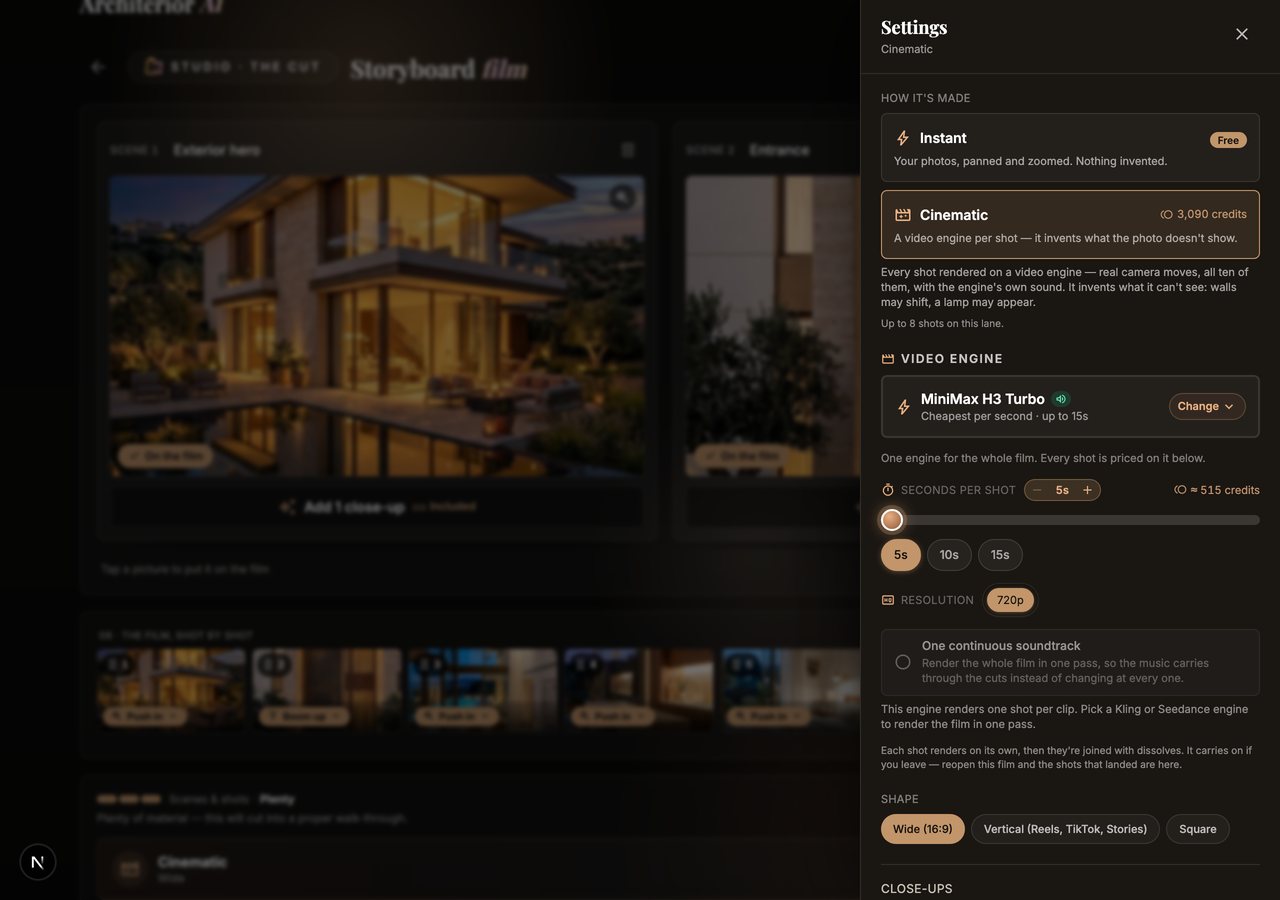
Tap Settings. Two lanes: Instant is free and pans across your stills; Cinematic renders every shot on a video engine so the camera genuinely travels through the room. The engine, seconds per shot and the price per shot all sit here.
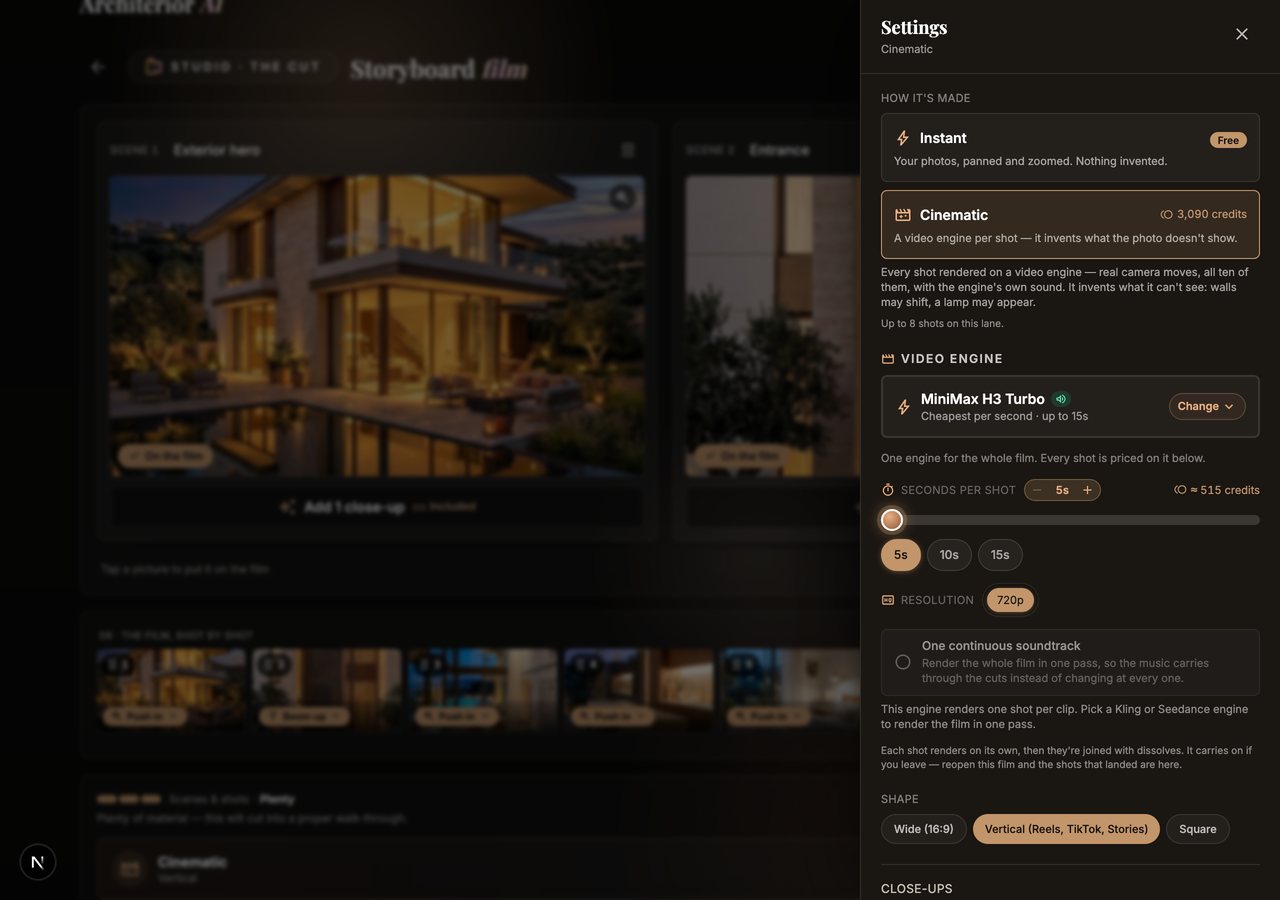
Scroll to Shape and pick Vertical (Reels, TikTok, Stories). There is no crop step later — the shape has to be right here.
Step 5 — Render the film
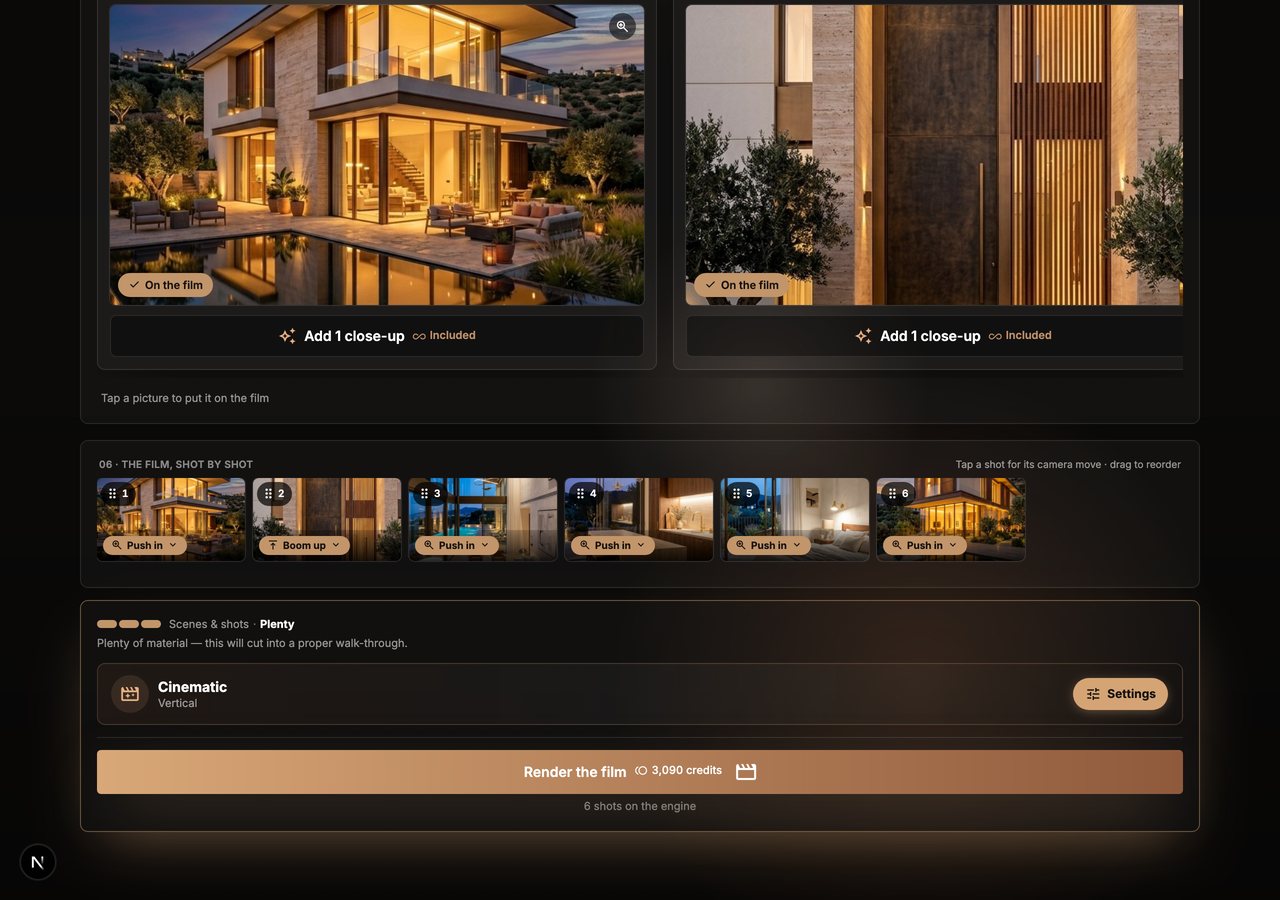
Back on the storyboard, the chip now reads Cinematic · Vertical and the button quotes the whole film before you press it — six shots, one number.
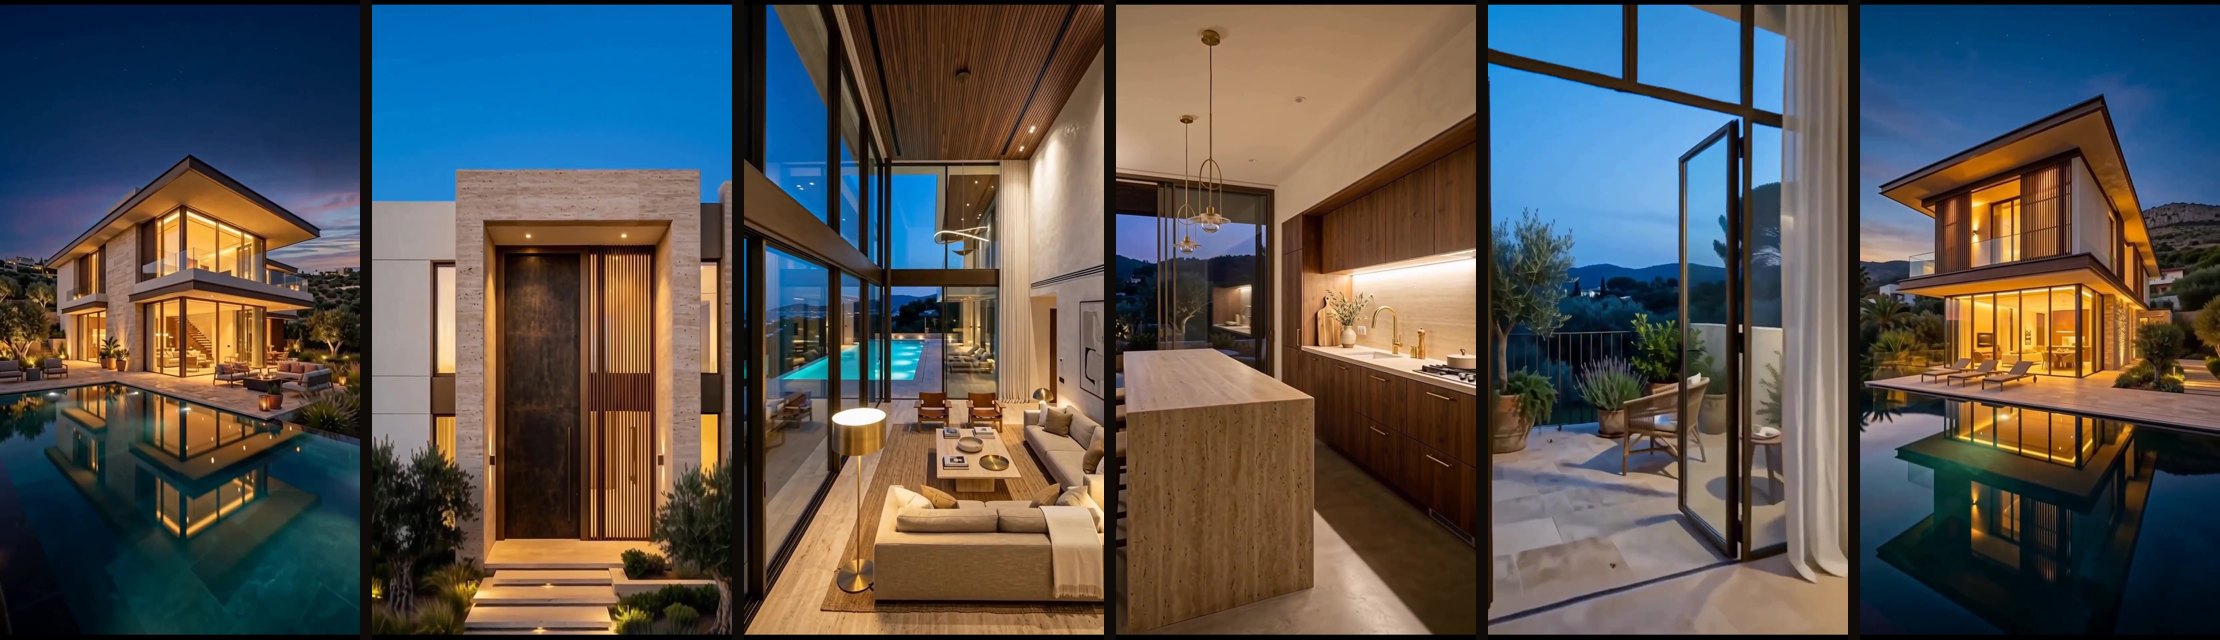
Every shot renders on its own; you can leave and come back. When all six have landed, Join the film — free — puts them end to end with dissolves. This is a frame from each rendered shot, in cut order:
Step 6 — One score over the whole film
Each cinematic shot arrives with its own soundtrack, so the sound jumps at every cut. On the film's page, Add music lays one bed across the entire film and replaces the lot — pick a mood (Cinematic, Warm, Calm, Upbeat) and press Weave it in. Nothing to type here either; we used Cinematic.
Step 7 — Download, or Create link
Download the film gives you the full-resolution vertical file. Create link makes a public page anyone can open without an account — the easiest way to get sign-off before you post. Add your hook text in Instagram's own editor, not in the file.
What it costs: dropping your pictures in, joining the film and sharing the link are free. The cinematic shots and the music are the only part that draws credits — every button shows its number before you press it.
Ready to cut your own film?
Bring your pictures — no prompts to write, and joining the film is free.
Open The Cut